Are you struggling with the “Your account has been disabled in the App Store and iTunes” error? We’ve got you covered.
Imagine this scenario: You discover what appears to be the ultimate productivity app, poised to transform your daily work routine. Eager to embark on a new era of efficiency, you excitedly hit the ‘Get’ button for a smooth download, only to be met with a disheartening error message: “Your account has been disabled in the App Store and iTunes.”
Before panic sets in and your to-do list looms ominously over you, take a moment to understand that this error, while alarming, is not necessarily a catastrophic event. It’s often a minor hiccup that can be swiftly addressed with a few straightforward actions.
So, why the ominous proclamation of your account being disabled in the app store and iTunes? Fear not, for we’re here to demystify the situation and guide you through the steps to restore your digital harmony.
In this article, we’ll unravel the mysteries behind this error message, shedding light on its potential causes. More importantly, we’ll provide you with quick and effective solutions to rid yourself of this inconvenience, ensuring that your journey towards enhanced productivity remains uninterrupted.
Take a deep breath, let go of the anxiety, and let’s get your digital world back on track.
What does it mean when “Your account has been disabled in the App Store and iTunes”?

It can be very annoying to see an error message in the App Store and iTunes saying that your account is disabled. This makes it almost impossible to access iCloud and your apps.
You think your account has been hacked when you see the “Your account has been disabled in the app store and iTunes” error. You need to change all your passwords, get new credit cards, and change the locks on your doors.
Don’t rush! This mistake message might show up in a few different situations. Let us look at some of the most common problems you might be having:
Reasons why you might see this error “Your Account Has Been Disabled In The App Store and iTunes”
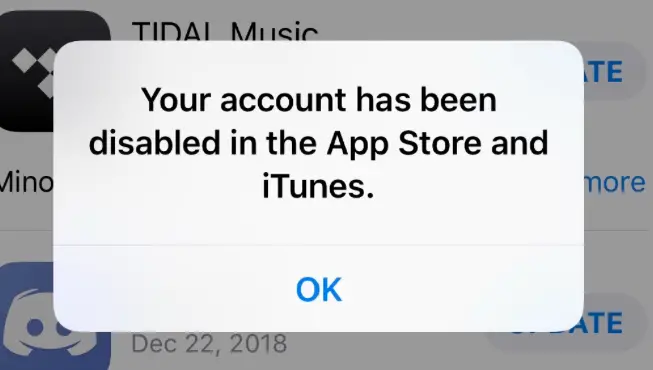
Getting locked out of your Apple account due to a “Your account has been disabled in the App Store and iTunes” message can be frustrating, but fear not! Here are several steps you can take to diagnose and fix the issue
Identify the Cause:
- Password Issues: This is the most common culprit. Double-check your password for typos, and capitalization errors, and ensure you’re using the correct Apple ID.
- Payment Problems: Verify your payment method is valid, has sufficient funds, and hasn’t expired. If you recently disputed a charge, resolving that issue might be necessary.
- Technical Glitch: Sometimes, random glitches can cause temporary disruptions. Restarting your device or trying again later might resolve the issue.
- Security Concerns: If Apple detects suspicious activity like repeated failed login attempts, they might temporarily disable your account.
- Inactivity: If you haven’t used your account for a while, Apple might lock it for security reasons.
- Privacy Restrictions: Ensure you haven’t accidentally disabled in-app purchases or set other restrictions that might block access.
How to fix your disabled account on iTunes and the App Store
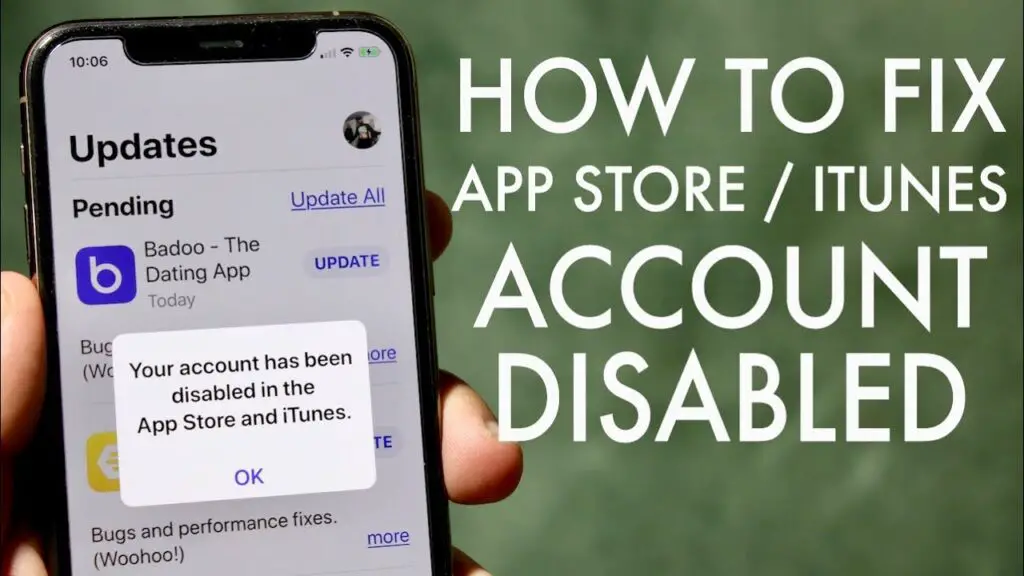
Now that you know the reasons behind the lockout, here’s how to get back in the game
Troubleshooting Steps:
- Verify Password: Double-check your Apple ID and password, paying close attention to capitalization and special characters.
- Restart Device: A simple restart can often clear temporary glitches.
- Update Payment Information: Ensure your payment method is valid, has sufficient funds, and hasn’t expired.
- Contact Apple Support: If you suspect a security concern, contact Apple Support for personalized assistance. They can help you verify your identity, reset your password, and ensure your account is secure.
- Check for Inactivity Lockout: If you haven’t used your account in a while, signing in again should reactivate it.
- Review Privacy Settings: Ensure in-app purchases and other restrictions aren’t blocking access.
Additional Tips:
- Enable Two-Factor Authentication: This adds an extra layer of security by requiring a code sent to your phone or trusted device in addition to your password.
- Be Patient: If the issue persists, give Apple Support some time to investigate and resolve the problem.
- Consider Alternative Solutions: While you wait for your account to be reactivated, explore free productivity apps or web-based alternatives to keep your momentum going.
Remember: Stay calm and follow these steps systematically. In most cases, the issue can be resolved quickly and easily. If you’re still facing difficulties, don’t hesitate to contact Apple Support for further assistance.
Solution 1: Log out and log in the Apple Account
The method for logging out and back into iCloud depends on your device:
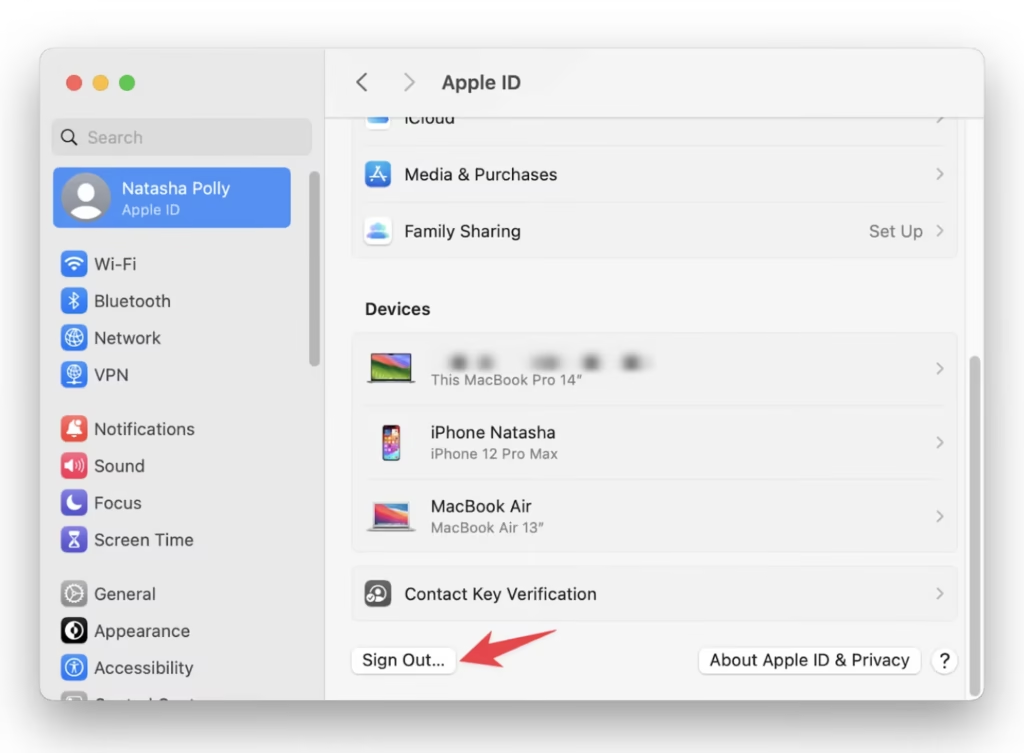
On iPhone, iPad, or iPod touch:
- Open the Settings app.
- Tap your name at the top of the screen.
- Scroll down and tap Sign Out.
- Enter your Apple ID password and tap Turn Off.
- Choose whether you want to keep a copy of your iCloud data on your device.
- Tap Sign Out again to confirm.
On a Mac:
- Click the Apple menu in the top left corner of your screen.
- Select System Preferences.
- Click on Apple ID.
- Click Overview (on macOS Monterey or later) or iCloud (on older versions).
- Click Sign Out.
- Choose whether you want to keep a copy of your iCloud data on your Mac.
- Click Keep on This Mac if you want to keep some data, or Remove from This Mac to remove it all.
- Click Continue.
- Enter your Apple ID password and click Sign Out.
To log back into iCloud on any device:
- Open the Settings app on your iPhone, iPad, or iPod touch, or System Preferences on your Mac.
- Follow the on-screen instructions to enter your Apple ID and password.
- Choose which iCloud services you want to enable.
Additional notes:
- Logging out of iCloud will not delete your iCloud data. It will only remove it from your device.
- If you use two-factor authentication for your Apple ID, you will need to enter a verification code when you log back in.
- If you have any trouble logging out or back into iCloud, you can contact Apple Support for help.
Solution 2: Reset your Apple ID password
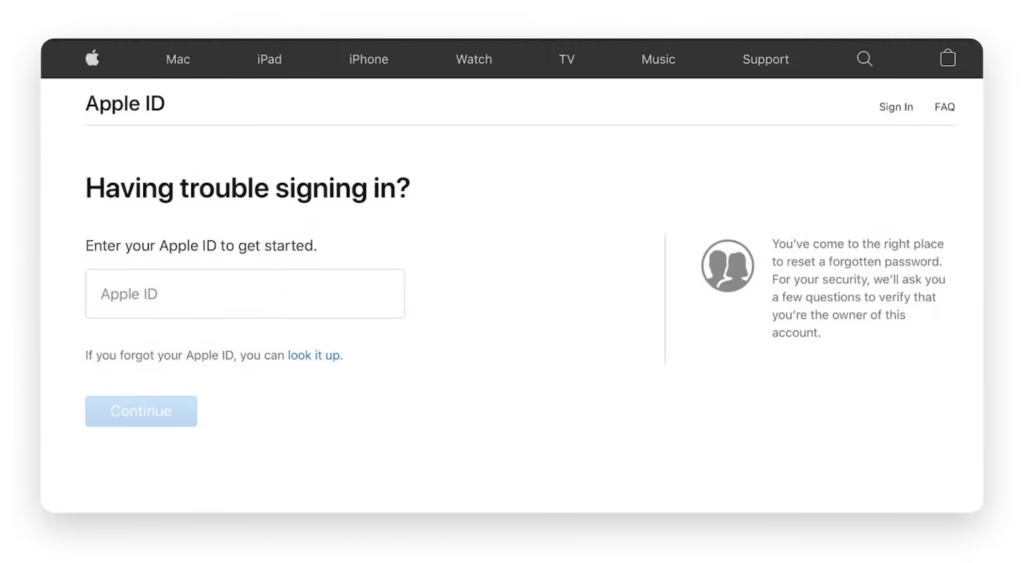
Whether you’ve forgotten your password or simply want to add another layer of security, resetting your Apple ID password is a straightforward process. Here are the different ways you can do it:
On your iPhone, iPad, or iPod touch:
- Go to Settings > [Your Name] > Password & Security.
- Tap “Change Password.”
- Verify your identity by entering the passcode for your device or answering your security questions.
- Choose a new password that meets the security requirements.
- Re-enter the new password to confirm.
- Tap “Change Password.”
On a Mac:
- Open System Preferences.
- Click on “Apple ID.”
- Select “Password & Security.”
- Click on “Change Password.”
- Enter your current password.
- Choose a new password that meets the security requirements.
- Re-enter the new password to confirm.
- Click on “Change Password.”
On the web:
- Go to: https://iforgot.apple.com/password/verify/appleid
- Enter your Apple ID.
- Choose “I forgot my password.”
- Select the method you want to use to verify your identity. You can choose to receive a verification code via text message or email or answer your security questions.
- Follow the on-screen instructions to enter the verification code or answer your security questions.
- Choose a new password that meets the security requirements.
- Re-enter the new password to confirm.
- Click on “Reset Password.”
Additional tips:
- Choose a strong password that is at least 8 characters long and includes a mix of upper and lowercase letters, numbers, and symbols.
- Don’t use the same password for your Apple ID and other accounts.
- Enable two-factor authentication for your Apple ID for an extra layer of security.
- If you’re having trouble resetting your password, you can contact Apple Support for help.
Solution 3: Check for restrictions on your iPhone
Encountering restrictions on your Apple ID can be frustrating, especially if you’re unsure what’s causing them. But fear not! Here’s a detailed guide on how to check for Apple ID restrictions and regain control of your account:
Understanding Apple ID Restrictions
Two main types of restrictions might affect your Apple ID:
- Content & Privacy Restrictions: These control access to specific features, content, and purchases across your Apple devices.
- Account Changes: These restrict making changes to your Apple ID information, such as your password or payment methods.
Methods for Checking Restrictions:
- Through Settings:
- Open the Settings app on your iPhone, iPad, or iPod touch.
- Tap on your Apple ID at the top of the screen.
- Select Screen Time.
- Enter your Screen Time passcode if you have one.
- Tap Content & Privacy Restrictions.
- Through iCloud:
- Go to https://www.icloud.com/ and sign in with your Apple ID.
- Click on Settings.
- Under “Family,” select Family Sharing.
- Click on your name or the child’s name whose restrictions you want to check.
- Go to Content & Privacy.
What You Can See:
Once you access either of these sections, you’ll see a list of categories with toggles indicating which features are allowed or restricted. These might include:
- Apps: Restricts access to specific apps or categories like games, social media, etc.
- Purchases & In-App Purchases: Limits purchases on the App Store and within apps.
- Web Content: Filters websites based on content rating or specific domains.
- Siri & Search: Restricts access to certain types of content in Siri searches and suggestions.
- FaceTime: Restricts FaceTime calls and messages.
- Location Sharing: Controls who can see your location.
Managing Apple ID Restrictions:
If you’re an adult and want to remove restrictions, simply turn off the toggles for the desired categories. However, if the restrictions are managed by a family organizer (usually a parent), you’ll need to ask them to adjust the settings.
Additional Tips:
- Check for Account Changes: If you’re unable to make changes to your Apple ID information, look for the “Allow Account Changes” option within the Screen Time settings or the Family Sharing settings on iCloud.
- Review Apple Support Resources: Apple provides detailed information on Screen Time and managing restrictions on their official website: https://support.apple.com/en-us/108806.
Remember:
- Restrictions can help manage children’s device usage and protect them from inappropriate content.
- If you’re unsure about any restrictions, it’s always best to consult the family organizer or contact Apple Support for assistance.
By following these steps and understanding the different types of restrictions, you can effectively check for and manage limitations on your Apple ID, ensuring a smooth and unrestricted experience.
| How to recover App Store and iTunes accounts? | Proven fixes |
| Reset Apple Account | Reset password at https://iforgot.apple.com/. Alternatively, go to Settings > tap Name > Sign In & Security > Change Password. |
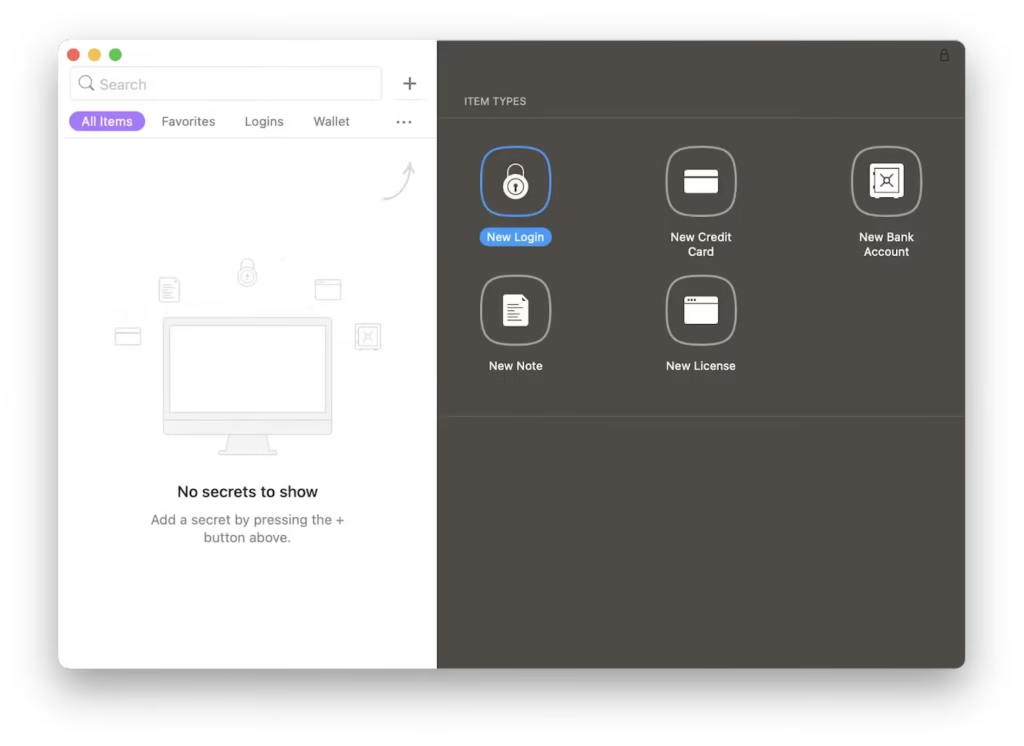
| Automatically generate and store passwords | Use the Secrets app. |
| Log in and log out | For iPhone: Settings > Tap your name > Sign out > Enter Apple Account password > Turn off > Tap Sign Out twice. For Mac: System Settings > Apple Account > Sign out. |
| Deploy time-based one-time passwords | Use the Step Two app. |
| Check for restrictions | Settings > Screen Time > Content & Privacy Restrictions > iTunes & App Store Purchases > Enter passcode to disable restrictions. |
| Contact Apple support | Go to https://support.apple.com/contact. |
Conclusion: Fixing Your Account Has Been Disabled in the App Store and iTunes Error
Addressing the vexing “Your account has been disabled in the App Store and iTunes” glitch necessitates a strategic approach.
This guide aims to expedite your account recovery process by leveraging personal insights and actionable solutions. If you have any more doubts or questions, feel free to ask in the comments below.
FAQ
Here are some of the most common FAQs on why your account might be disabled in the App Store:
Q: Why was my App Store account disabled?
Multiple incorrect login attempts, suspicious activity, and violation of the App Store Terms of Service are common reasons
Q: How do I get my App Store account reactivated?
Reset your password, contact Apple Support, or provide proof of resolving the issue.
Q: What should I do if I think my account has been compromised?
If you think your account has been compromised, you should immediately change your Apple ID password. You should also enable two-factor authentication to add an extra layer of security to your account.
Q: How can I prevent my App Store account from being disabled?
Use a strong password, keep your account information private, download only from the official App Store, and follow the App Store Terms of Service.
Q: How do I fix my disabled account in the App Store?
The steps you need to take to fix your disabled account will depend on the reason why it was disabled in the first place.
- If you enter the wrong password too many times, you need to reset your password to get this fixed.
- If you violated the App Store Terms of Service, you will need to contact Apple Support and explain the situation. They may be able to reinstate your account, but there is no guarantee.
- If your account has been compromised, you should reset your Apple ID password immediately. You may also want to enable two-factor authentication for your account to add an extra layer of security.
- If there is a technical issue with your account, you will need to contact Apple Support for assistance.
Q: How do I contact Apple Support?
You can contact Apple Support by phone, chat, or email. To find the contact information for your region, visit the Apple Support website.
Q: What should I do if my account is still disabled after I have tried all of the above?
If you have tried all of the above and your account is still disabled, you may need to create a new Apple ID account. However, before you do this, be sure to backup all of your data so that you don’t lose anything.
Q: What can I do if my App Store account is disabled and I can’t contact Apple Support?
If your App Store account is disabled and you can’t contact Apple Support, you can try the following:
- Restart your device: Sometimes, a simple restart can fix minor issues that may be causing your account to be disabled.
- Check your internet connection: Make sure that your device has a strong internet connection.
- Try logging in from a different device: Try logging into your App Store account from a different device, such as a computer or another iOS device.
- Wait 24 hours: If you have tried all of the above and your account is still disabled, try waiting 24 hours and then try logging in again.
If you are still unable to access your App Store account after 24 hours, you may need to contact Apple Support for assistance.
Discover more from Digital Wealth Guru
Subscribe to get the latest posts sent to your email.




Comments